

Spring Security: The Magic First Approach
What is the next Step that you have to take once you get the basic understanding of the subject? It is The Magic First Approach.


Photo by Simon Abrams on Unsplash
Table of contents
Whenever I learn a new technology, I usually make things work first and later try to understand what is happening in the background. I call this the "Magic First Approach". It's not the most orthodox way of learning, but it's often the most effective.
In this article, we'll take a Magic First approach to Spring Security. We'll dive directly into the practical implementation of Spring Security, and we'll later learn about how things are exactly working.
By the end of this article, you'll be able to implement basic authentication and authorization using spring security.
Default Security Feature
Note: In this tutorial, we will be using Spring Boot of version 3.x.x and Spring Security 6.x.x This requires you to use the JDK version above 17.
Create a Spring Starter project with spring-web, spring-devtools and
spring-security as dependencies.
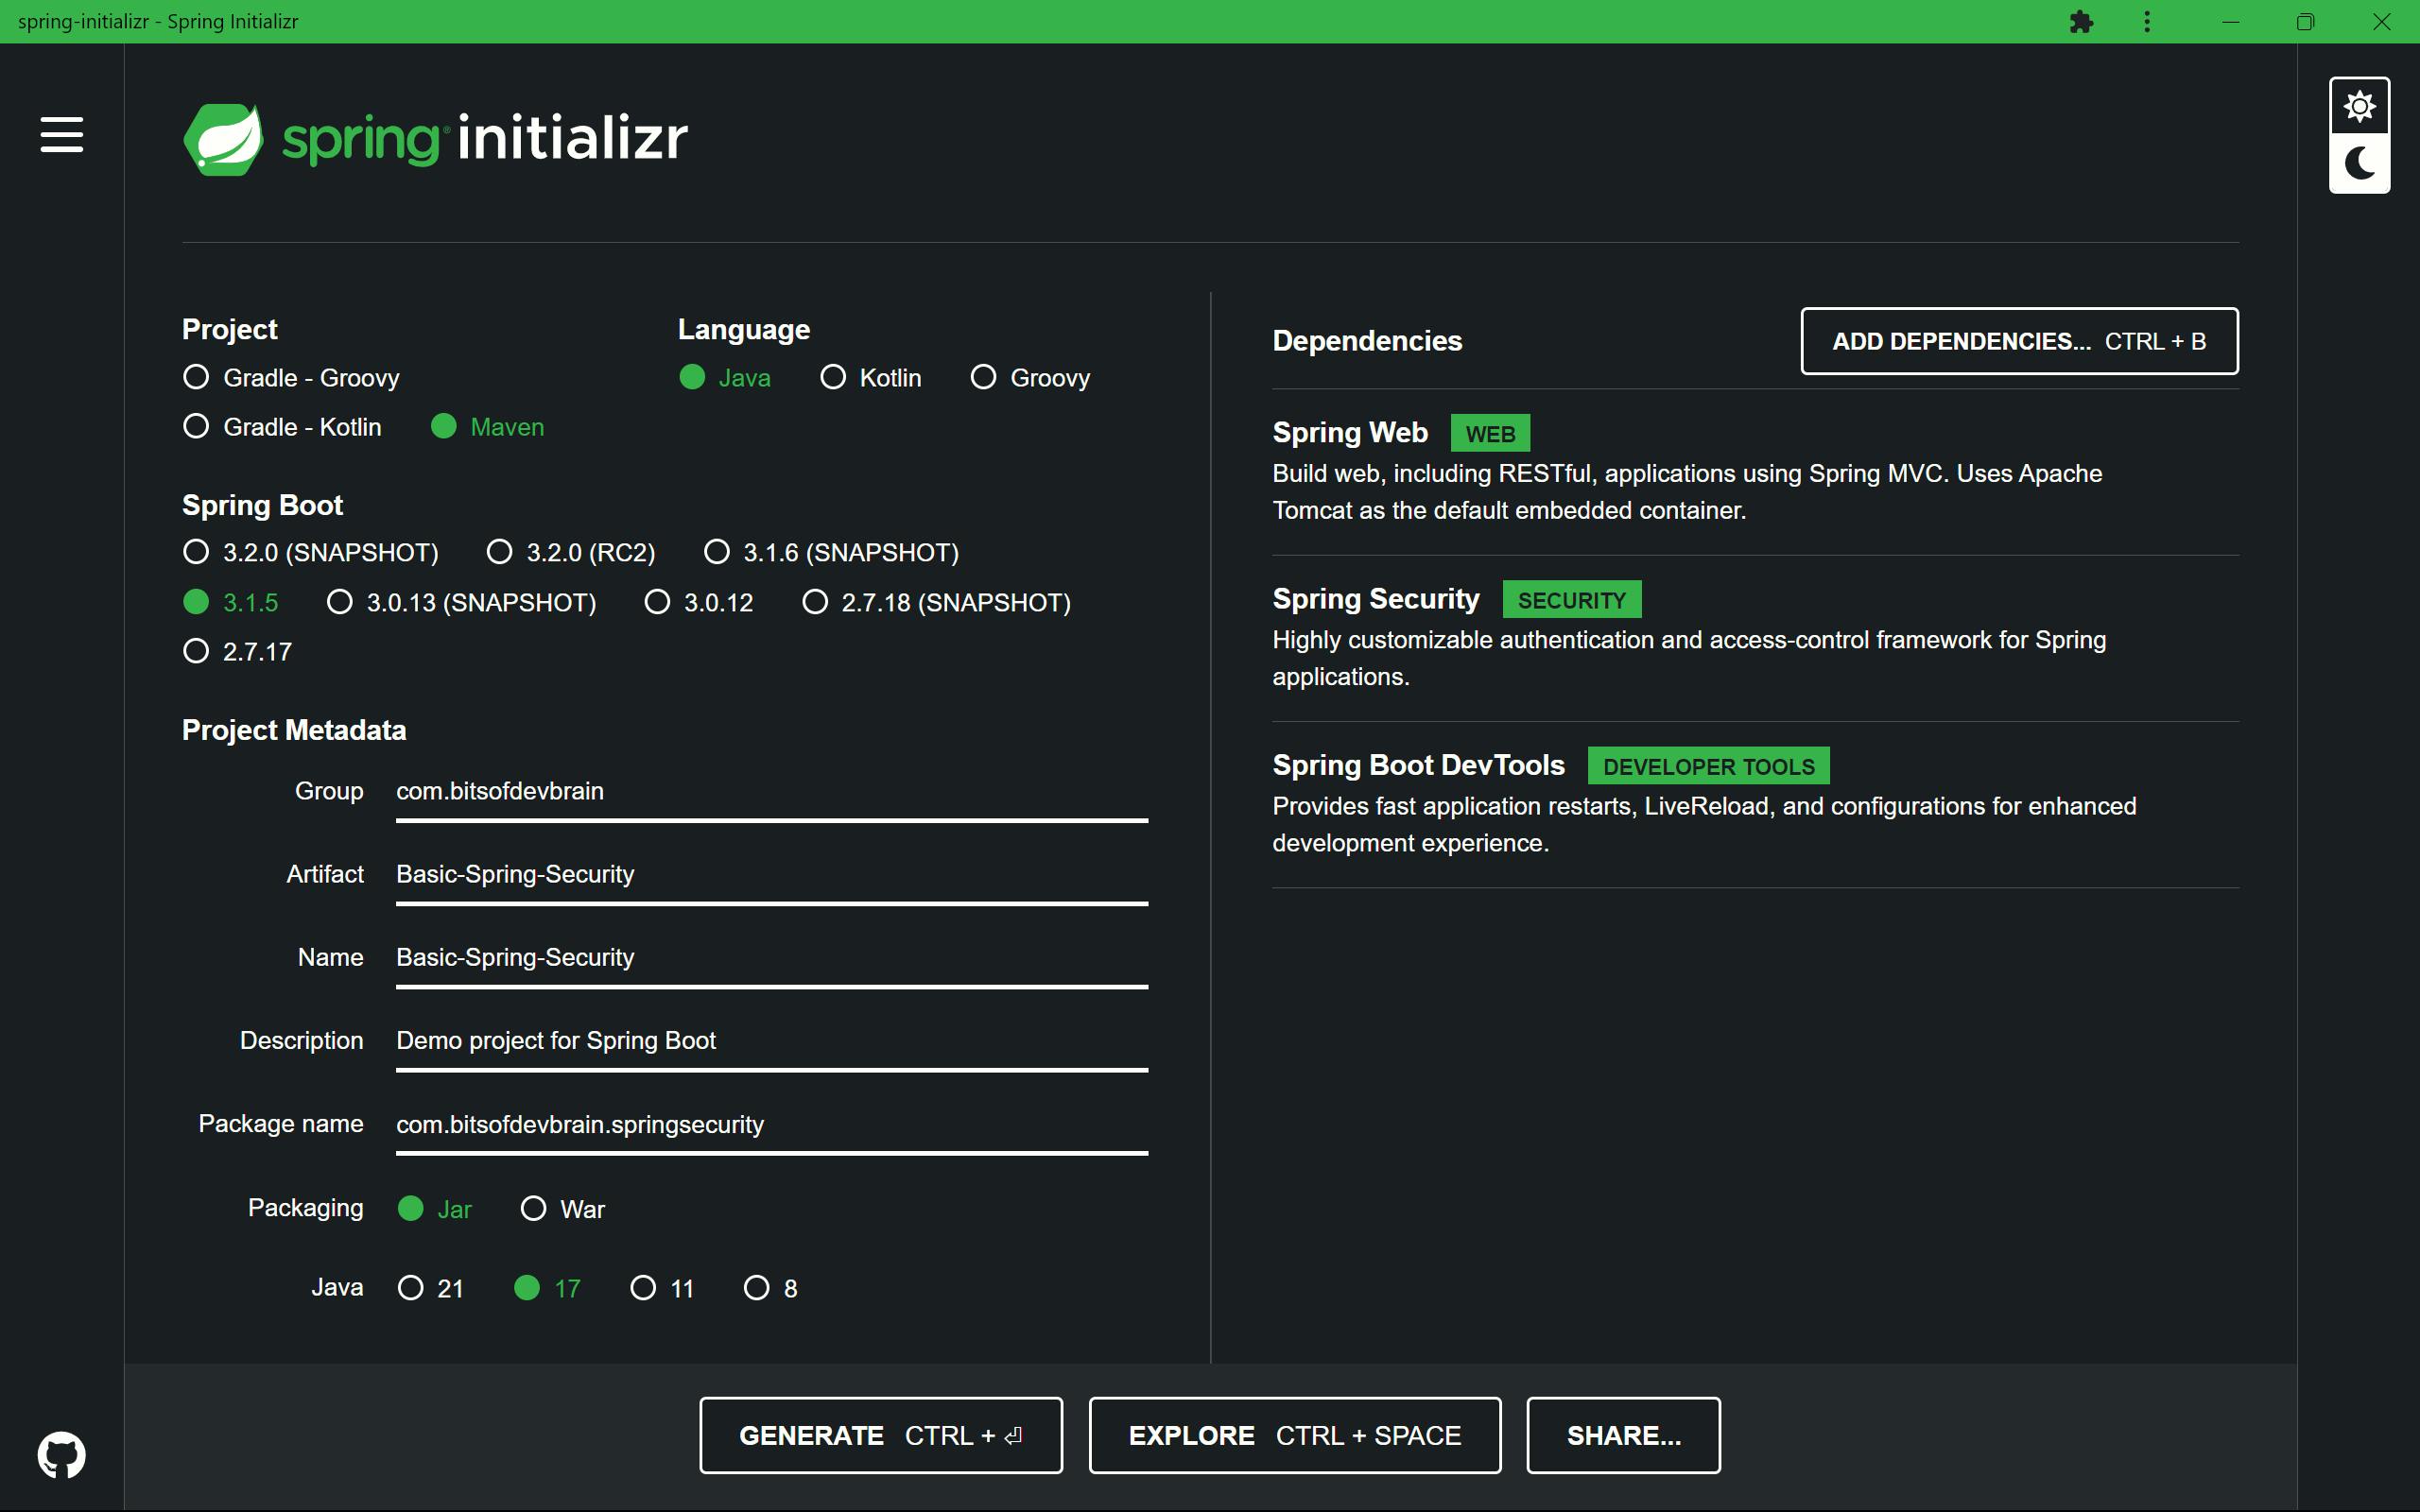
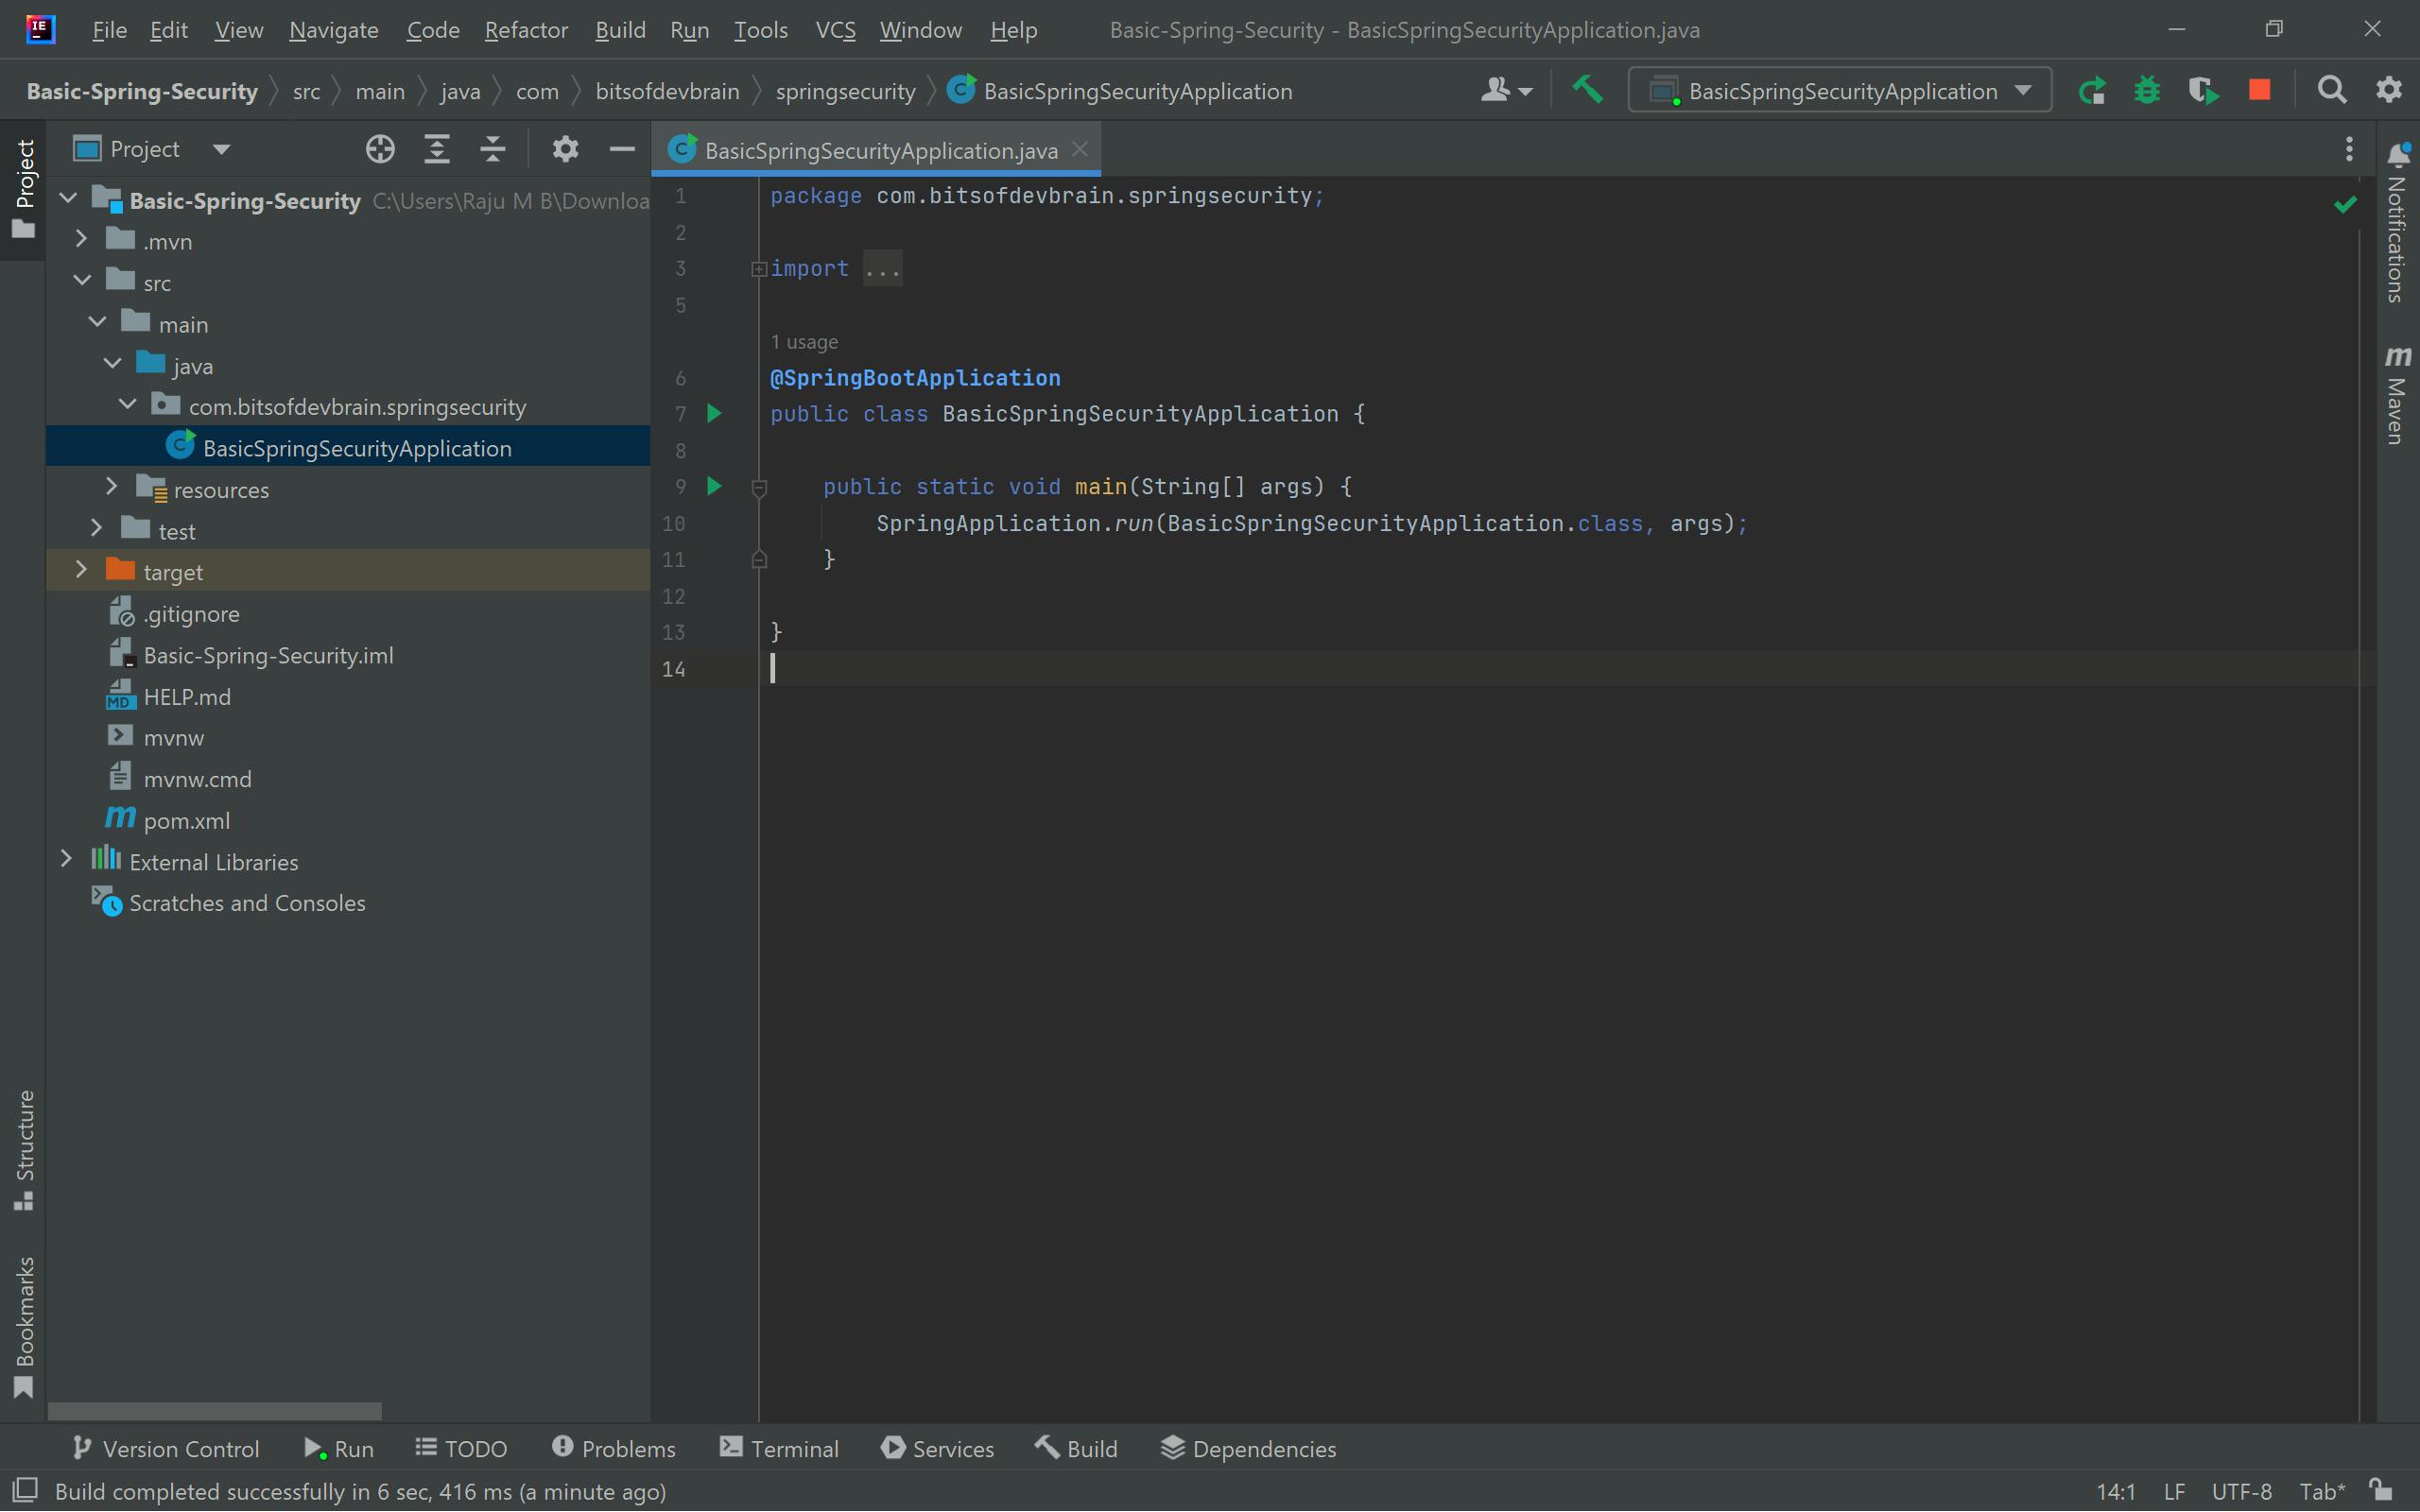
Import and run the project on your preferred IDE.
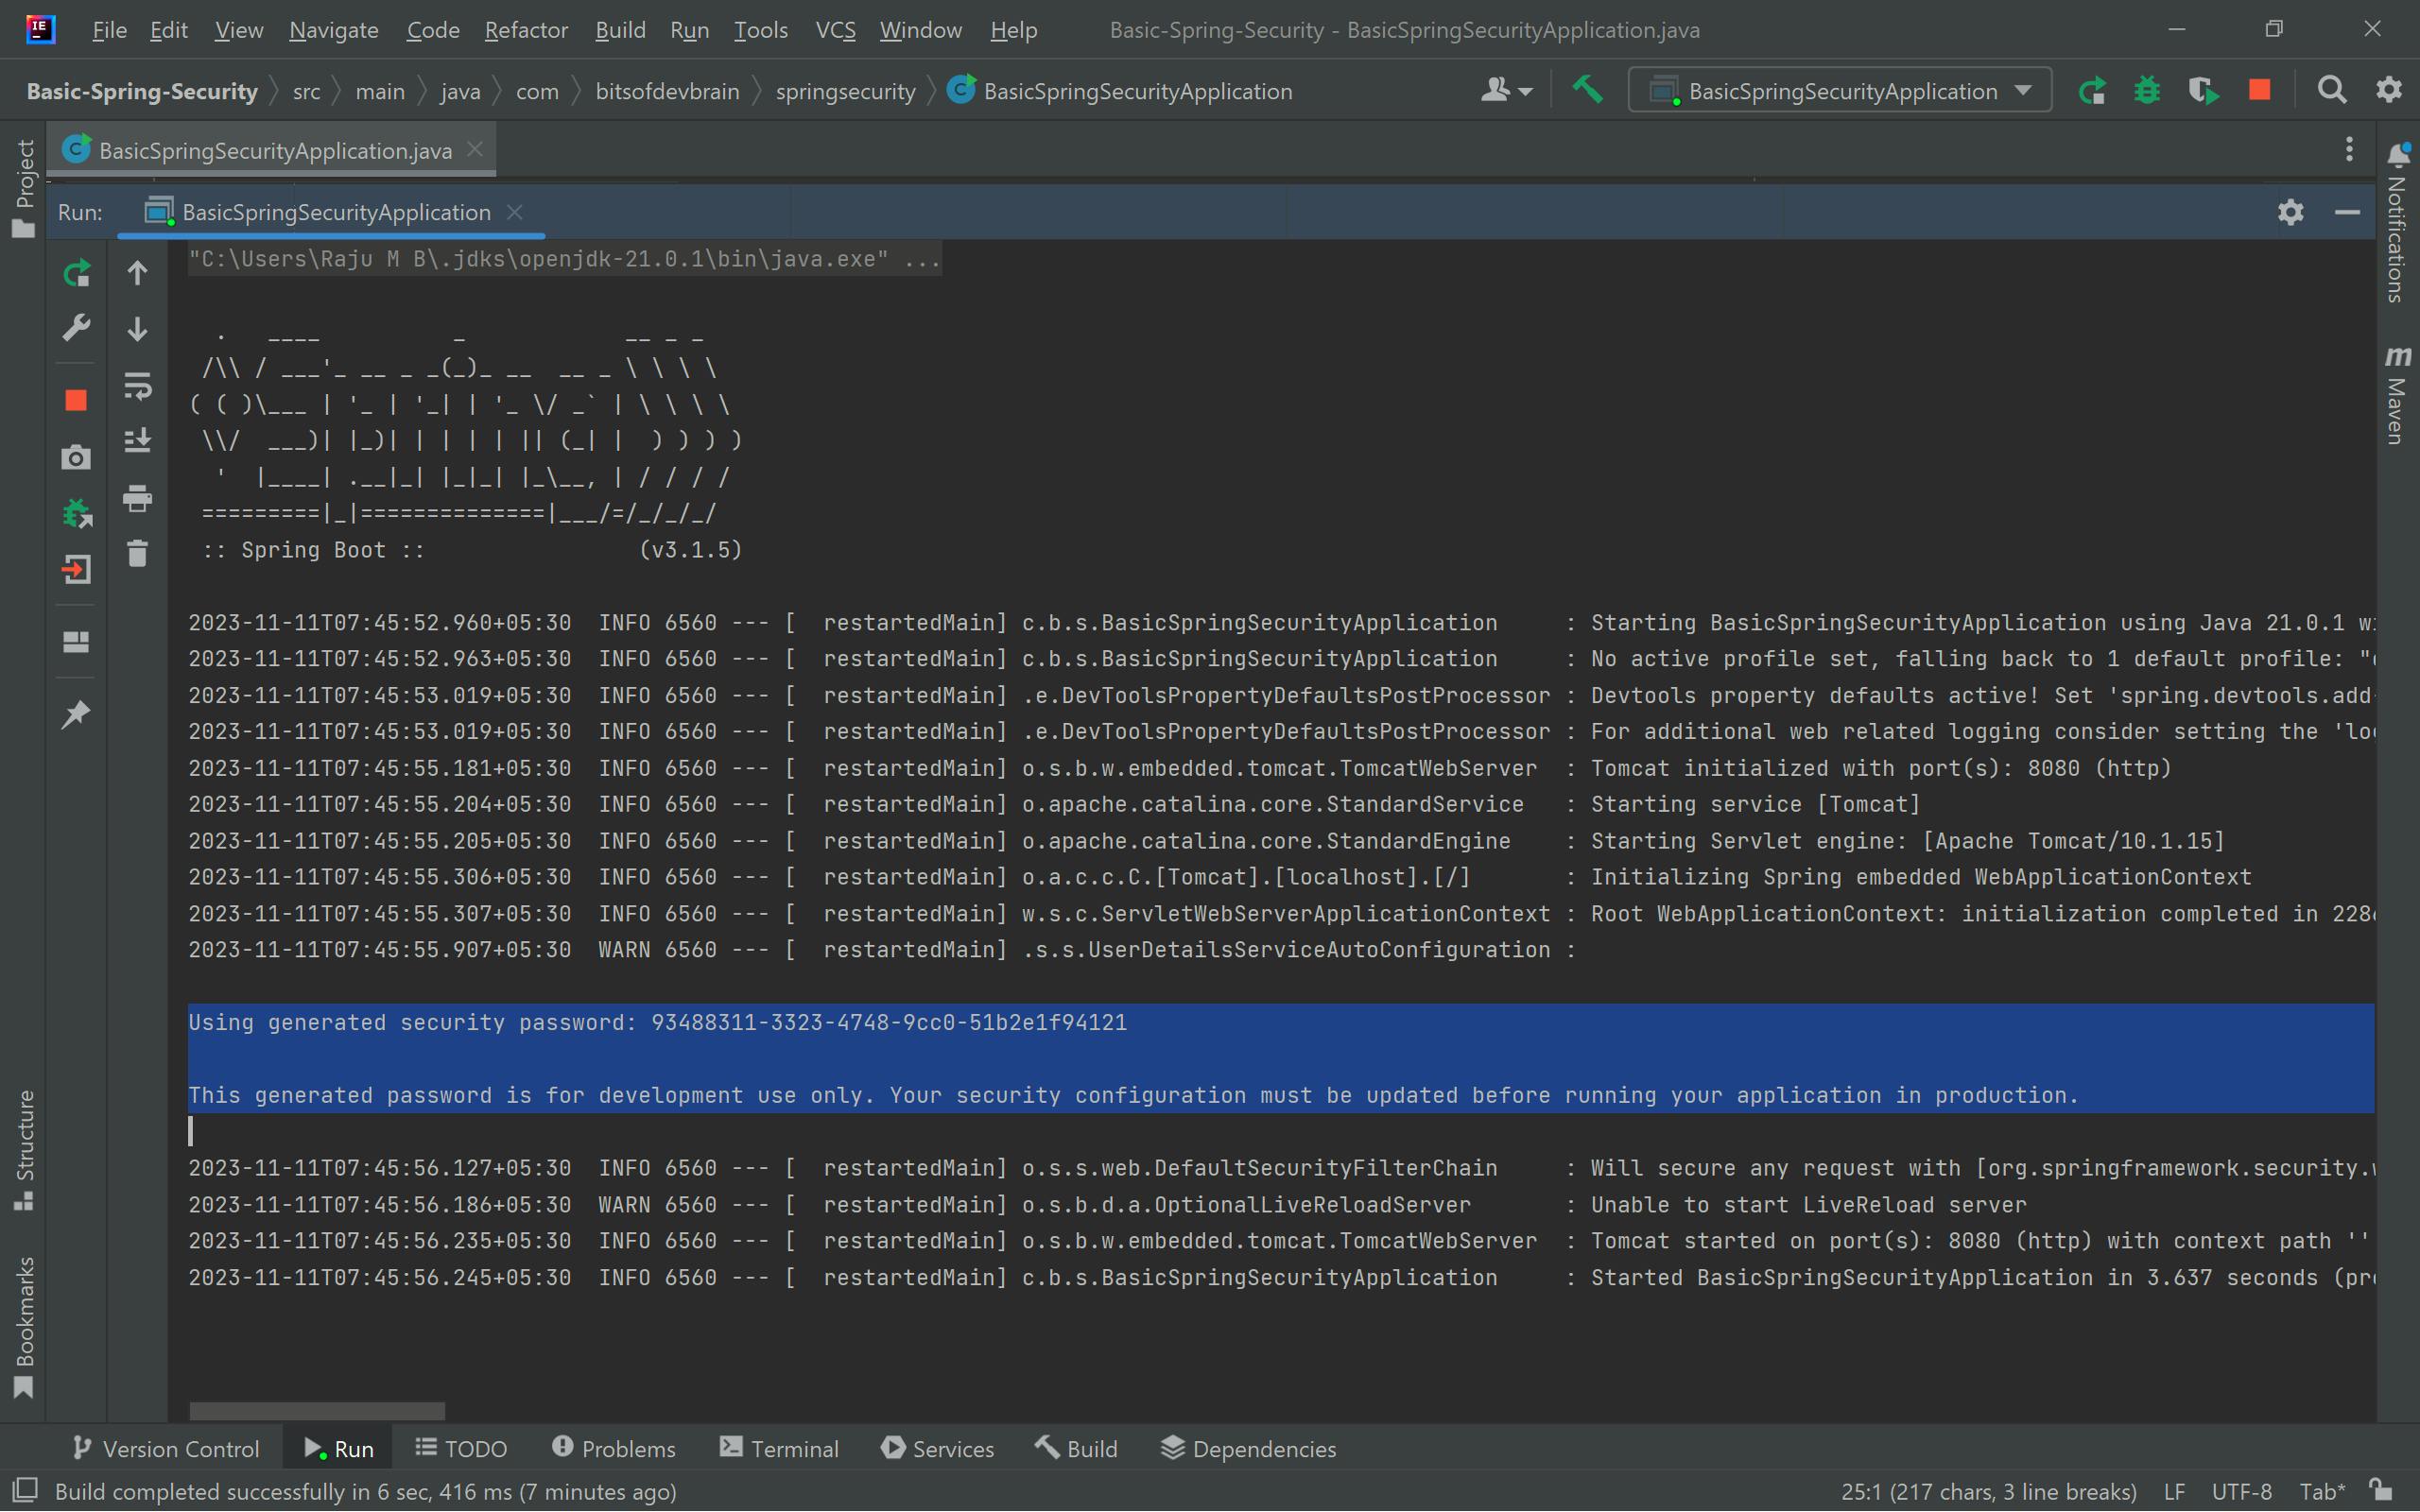
Spring automatically enables security for the application and provides a default password as seen in the below image. This feature can be overridden later with a custom authentication implementation, but let's look at how the default security works.
Now create a REST endpoint for the testing purpose.
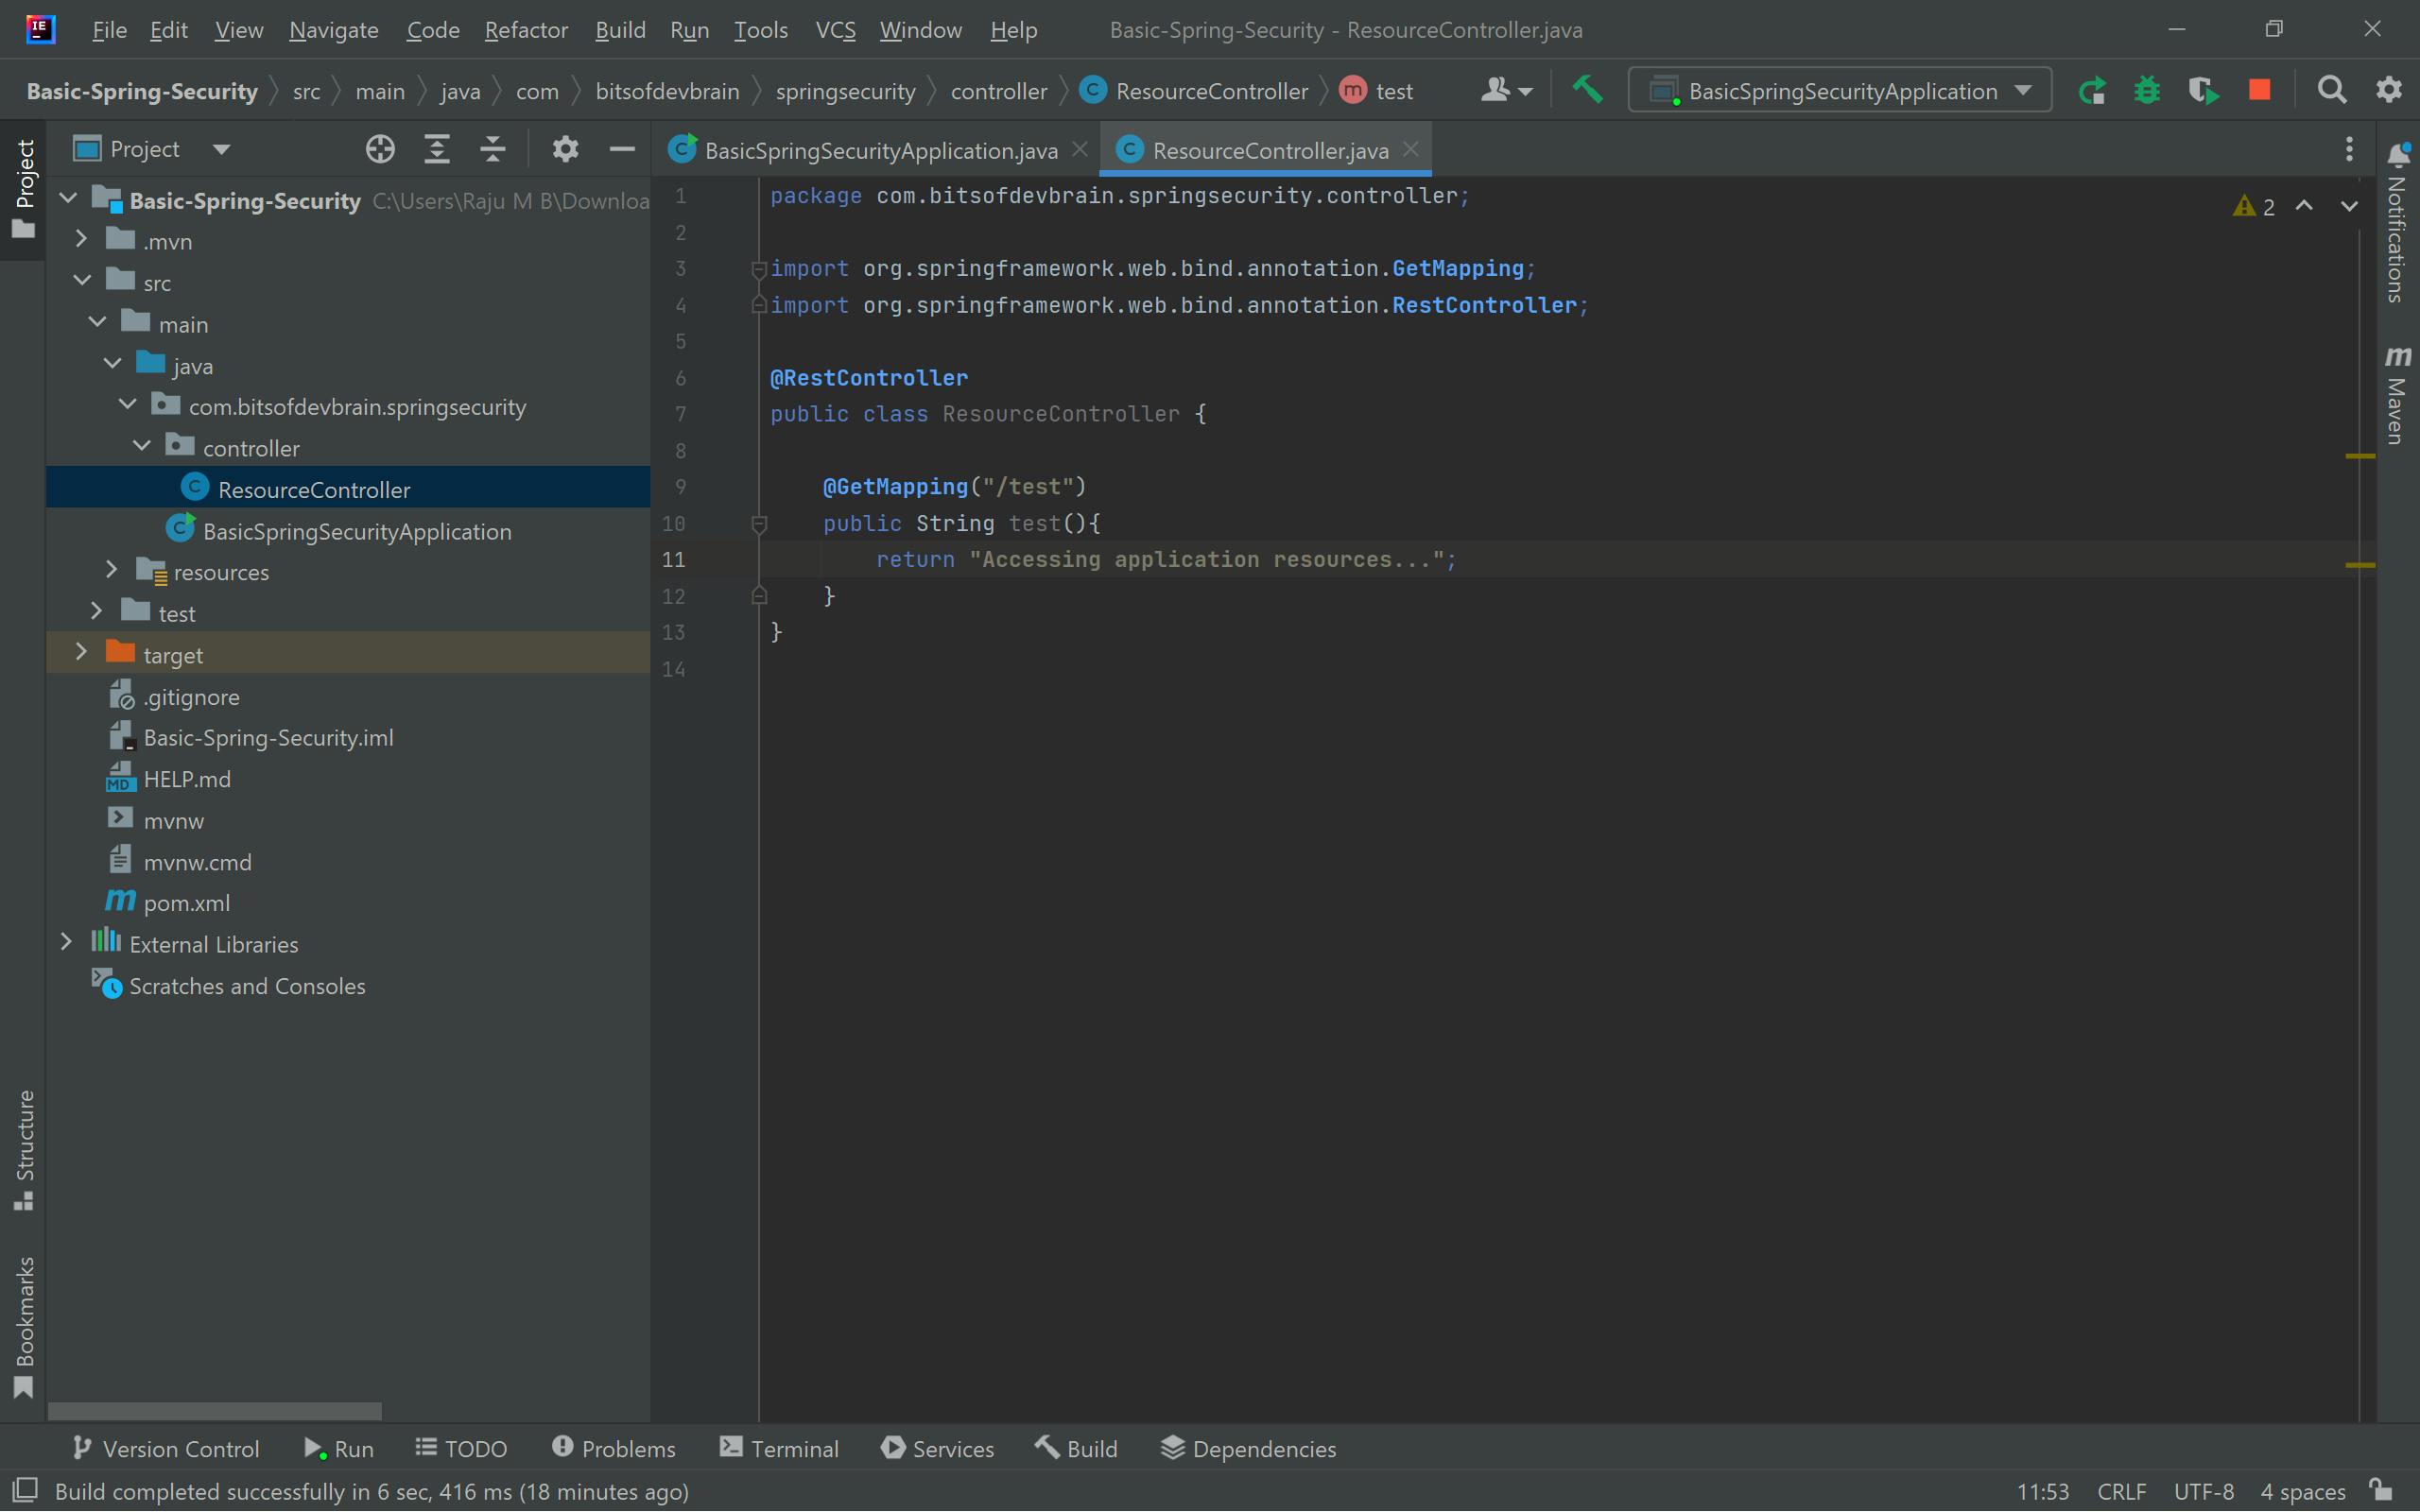
The Above Image contains a new package
.controllerand a new controller classResourceControllerwith a REST endpoint"/test". Let's now try to access this endpoint through a browser.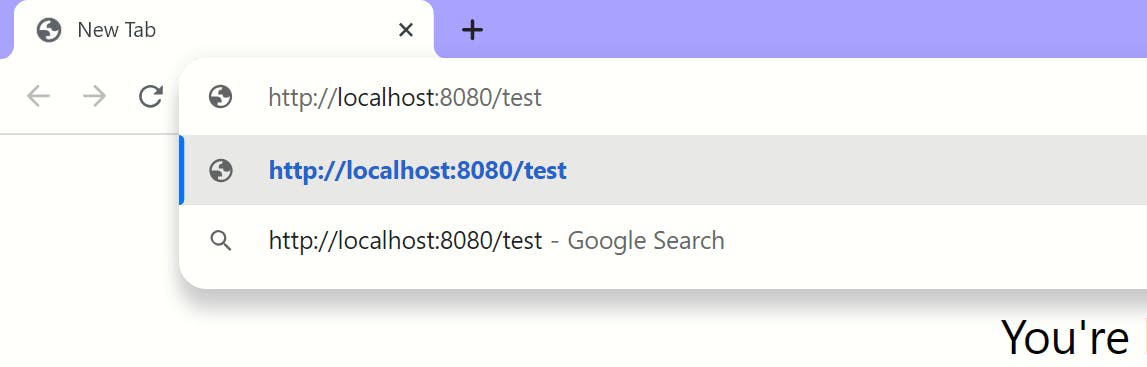
Spring Security by default doesn't let anyone access the application resources, it redirects to a login page.
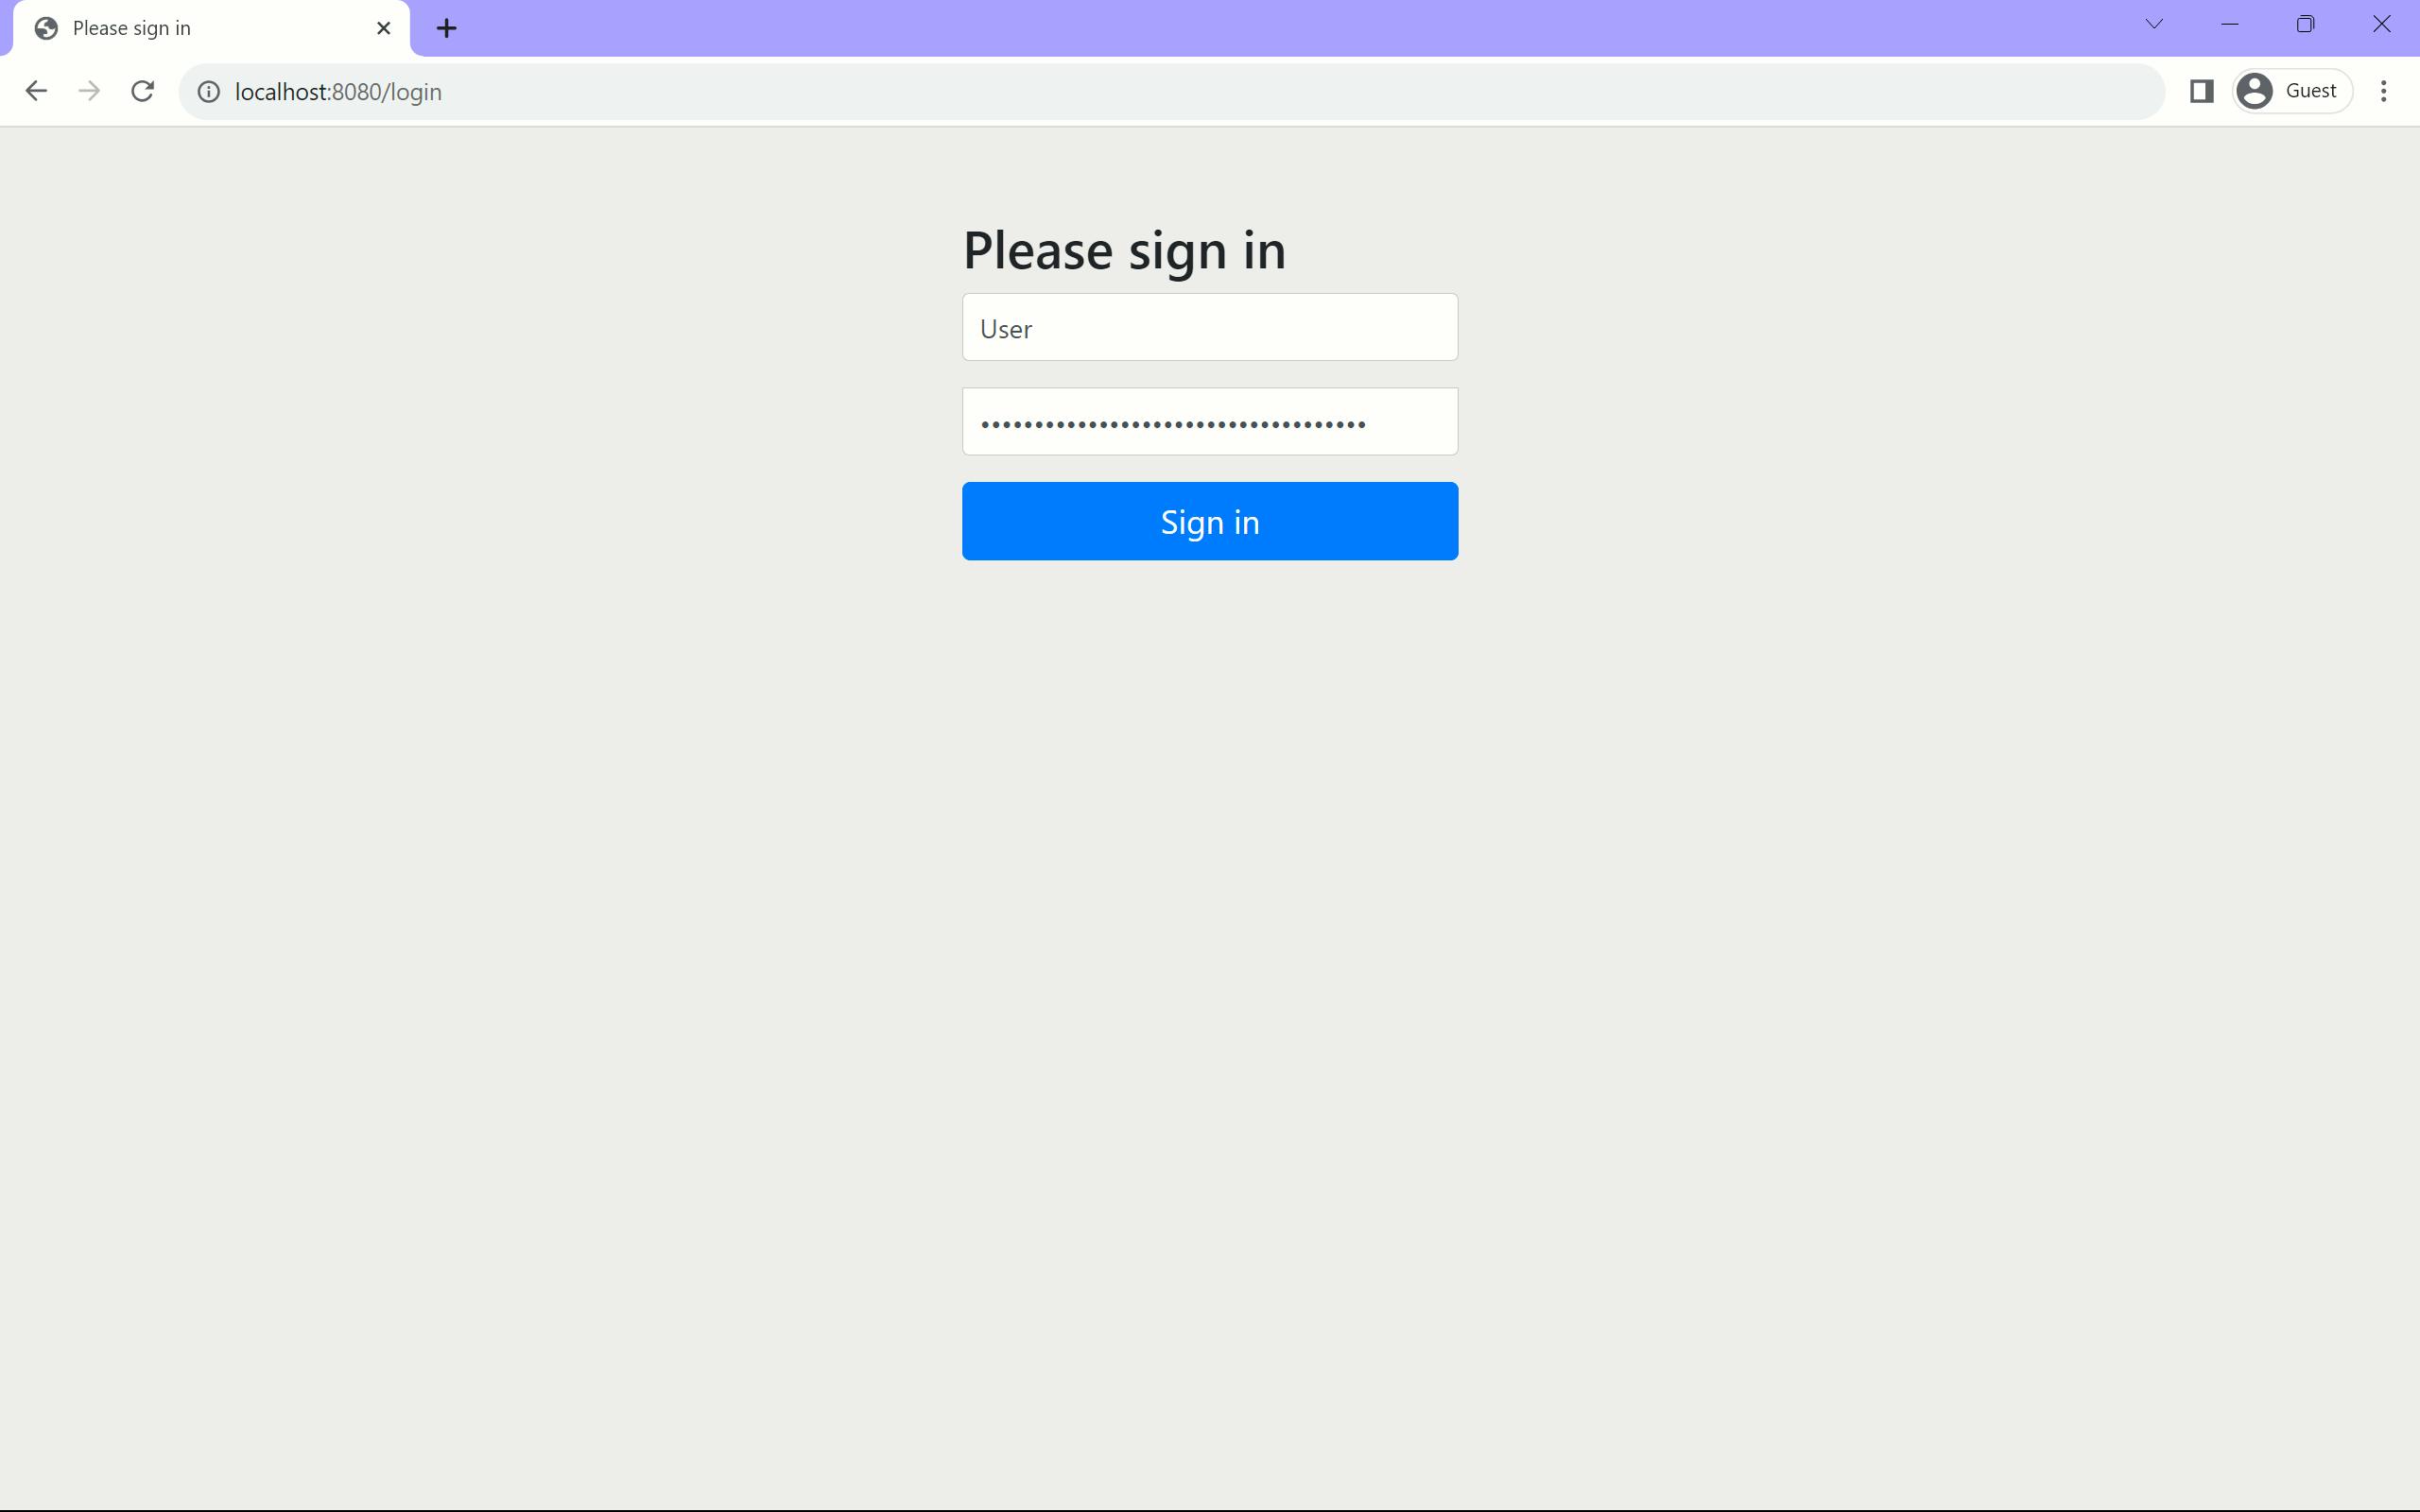
The default username is the user and the password is the generated password during the application start-up. Enter the username and password and click on login.
Once you enter proper credentials you should be able to access the application resources.
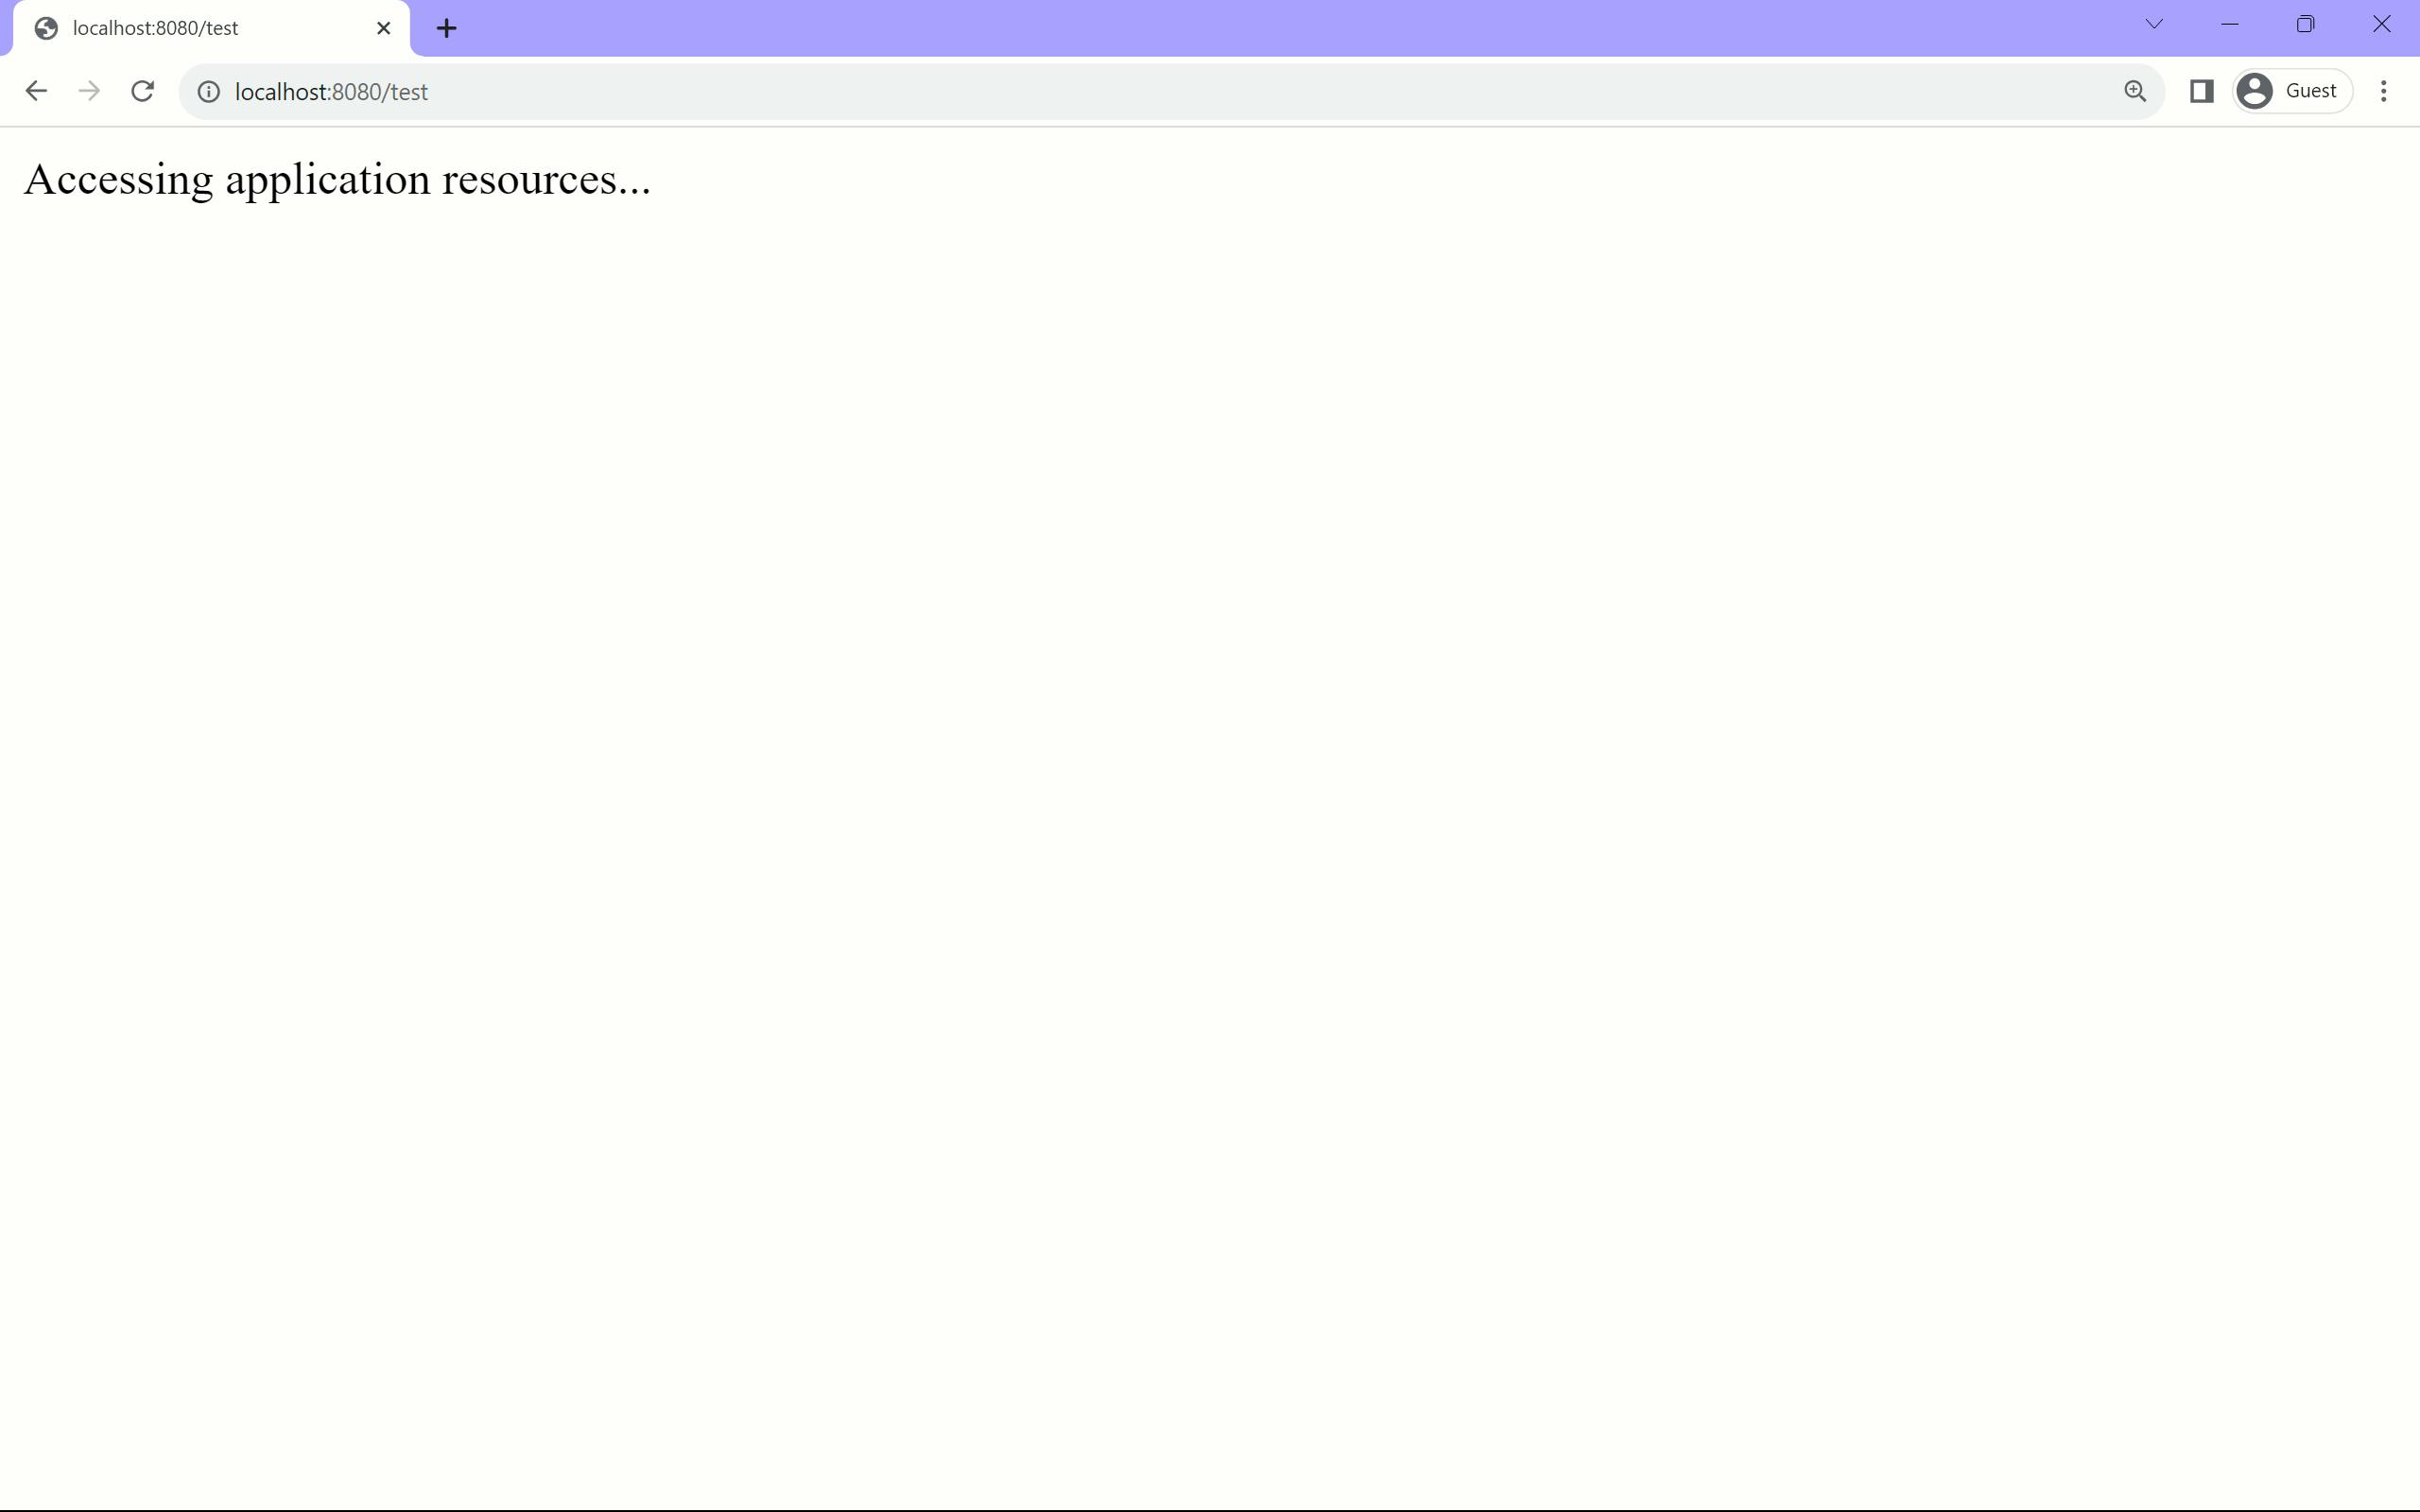
As soon as you log in Spring Security starts maintaining an HttpSession and lets you access the application resources securely.
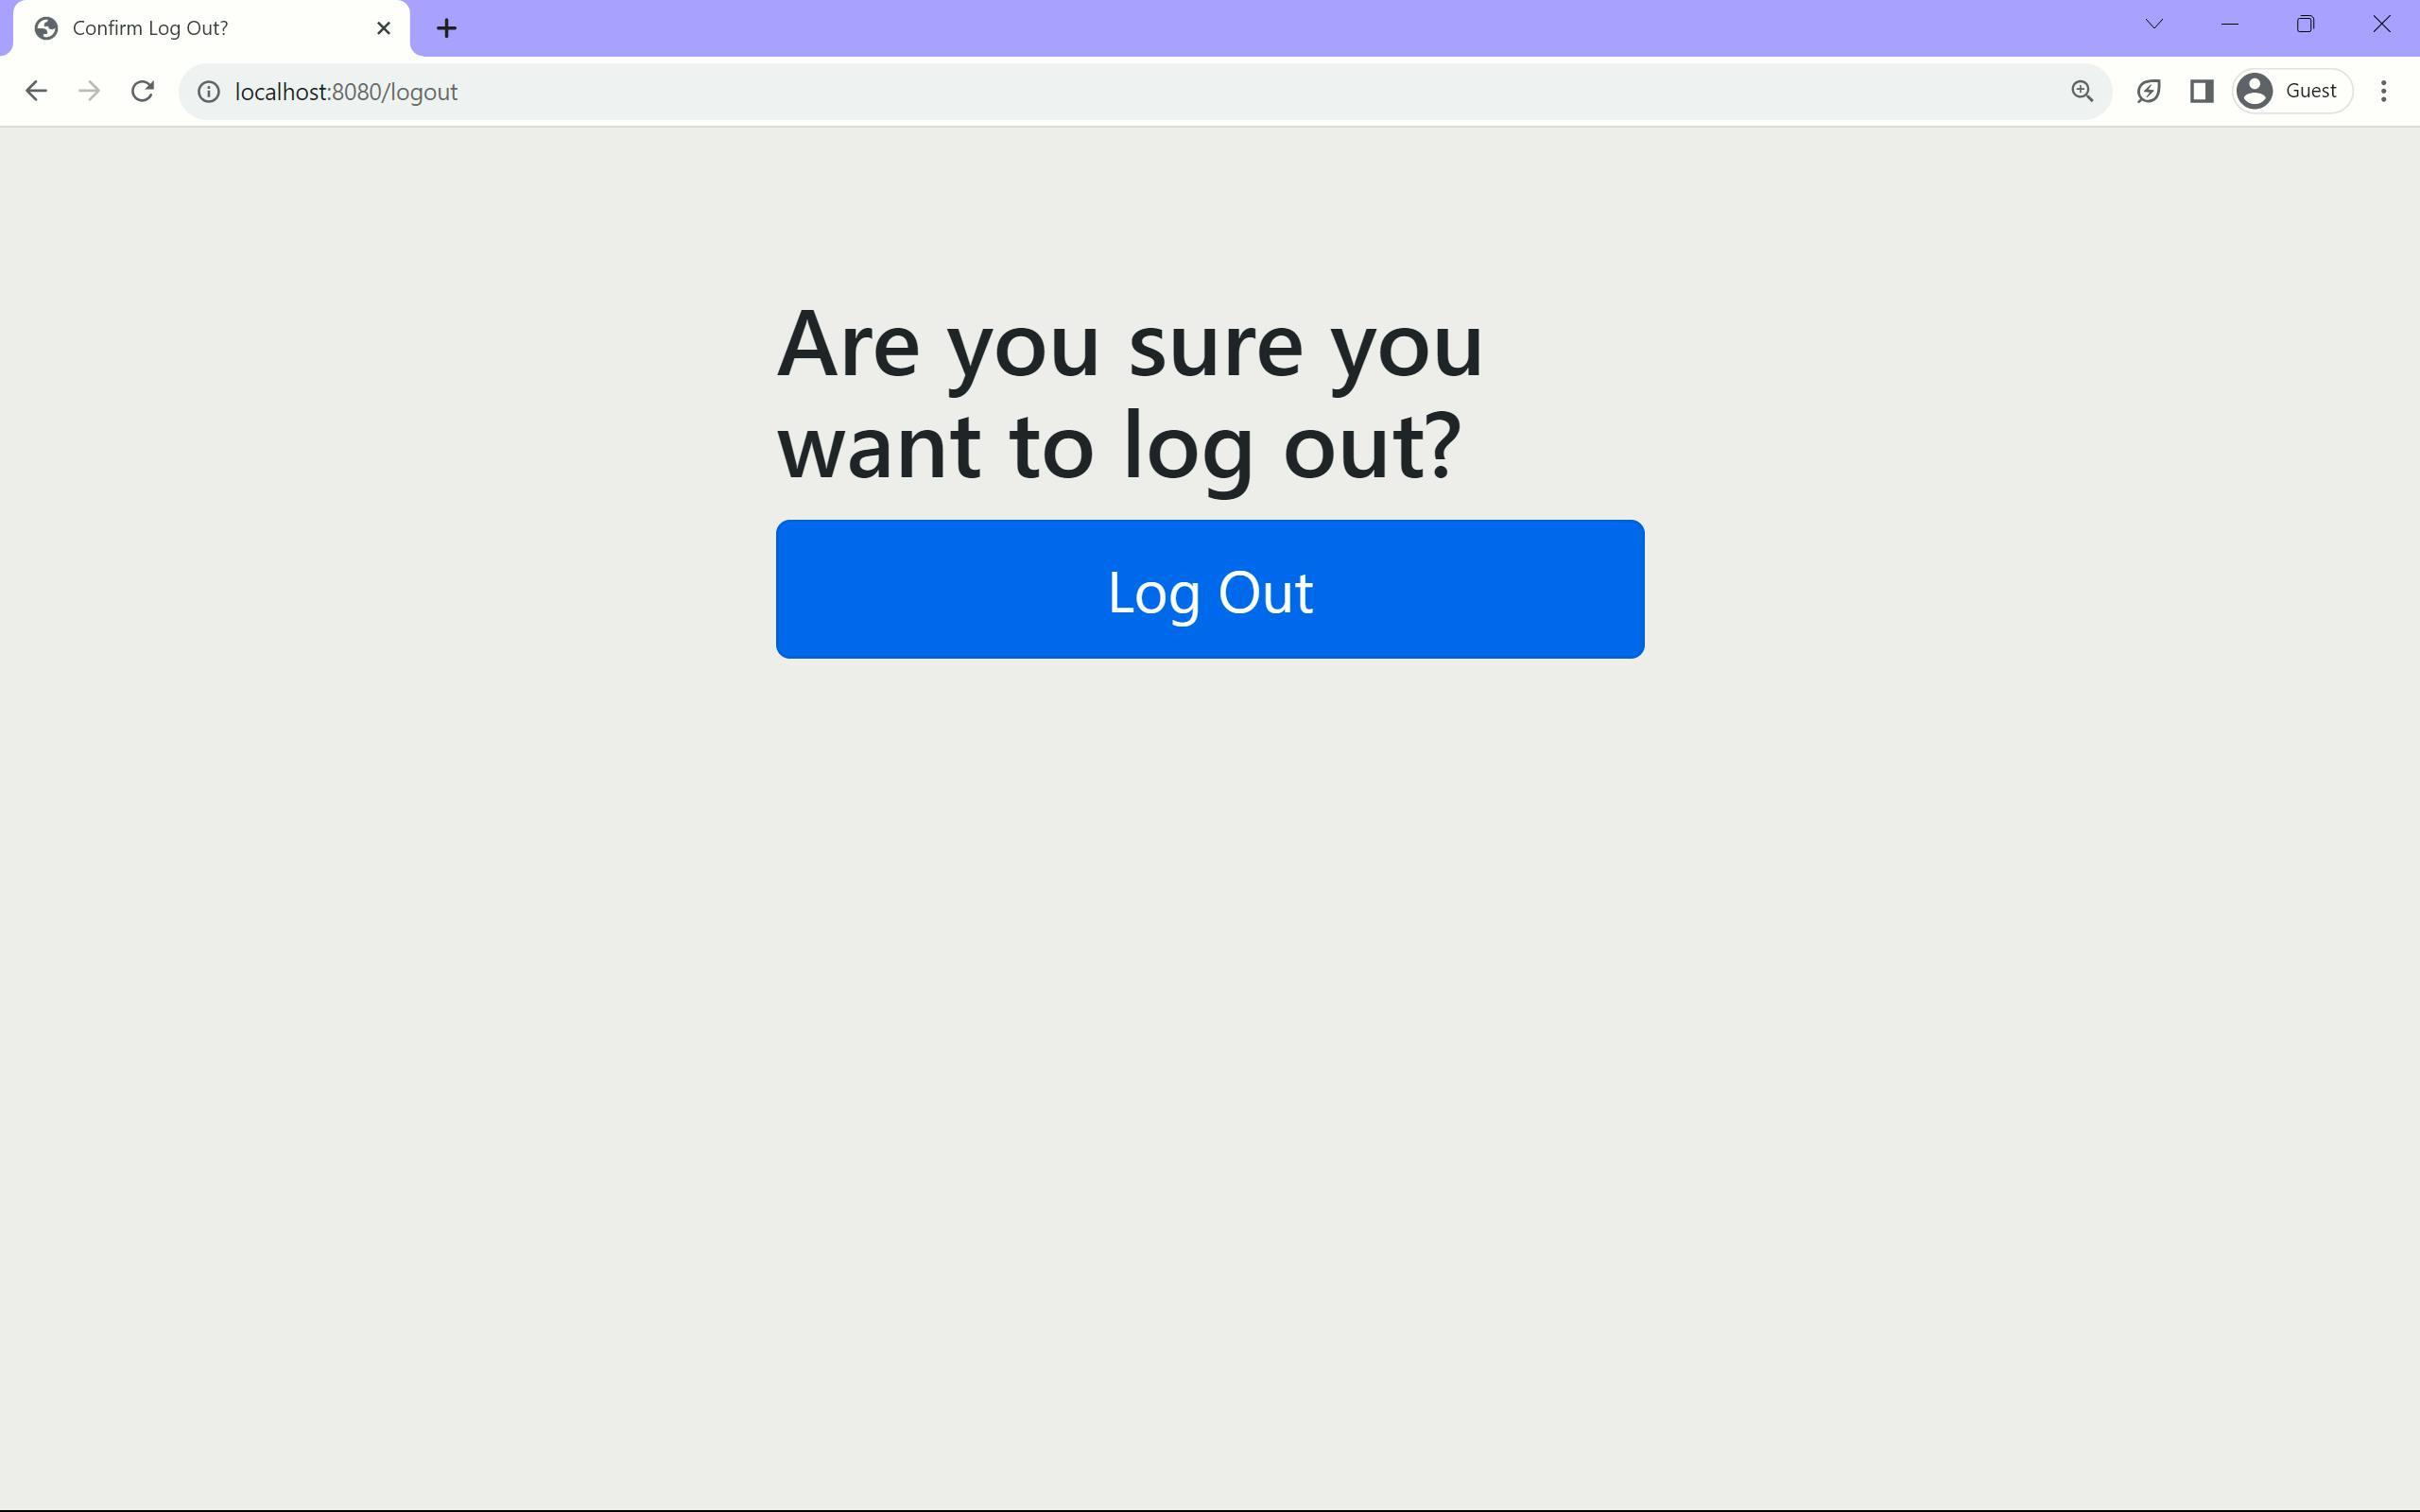
Now to log out you can hit the URL
localhost:8080/logout- It is the default logout URL provided by Spring Security.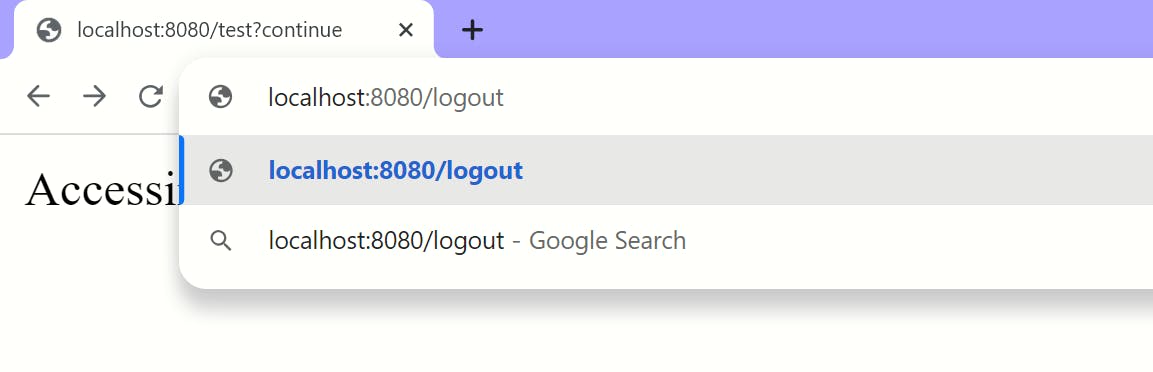
Later you will be able to see this tab below where you have to click on the Logout button to Logout.
This article demonstrates on implementing the default authentication and authorization provided by the Spring Security. But this implemention is only for the beginner, later it has to be overriden by custom authentication and authorization logics, which we will see in the next article. Feel free to leave a comment if there are any queries.